How to use a recovery gel (and get the most from it)
Thin layer, clean skin, let it absorb, wash your hands. The simple steps, where to apply, and the safety basics.
A recovery gel is about as simple as recovery gets. A few small habits make it feel better and keep it safe.
The steps
- Start with clean, dry skin.
- Squeeze a small amount, about the size of a coin.
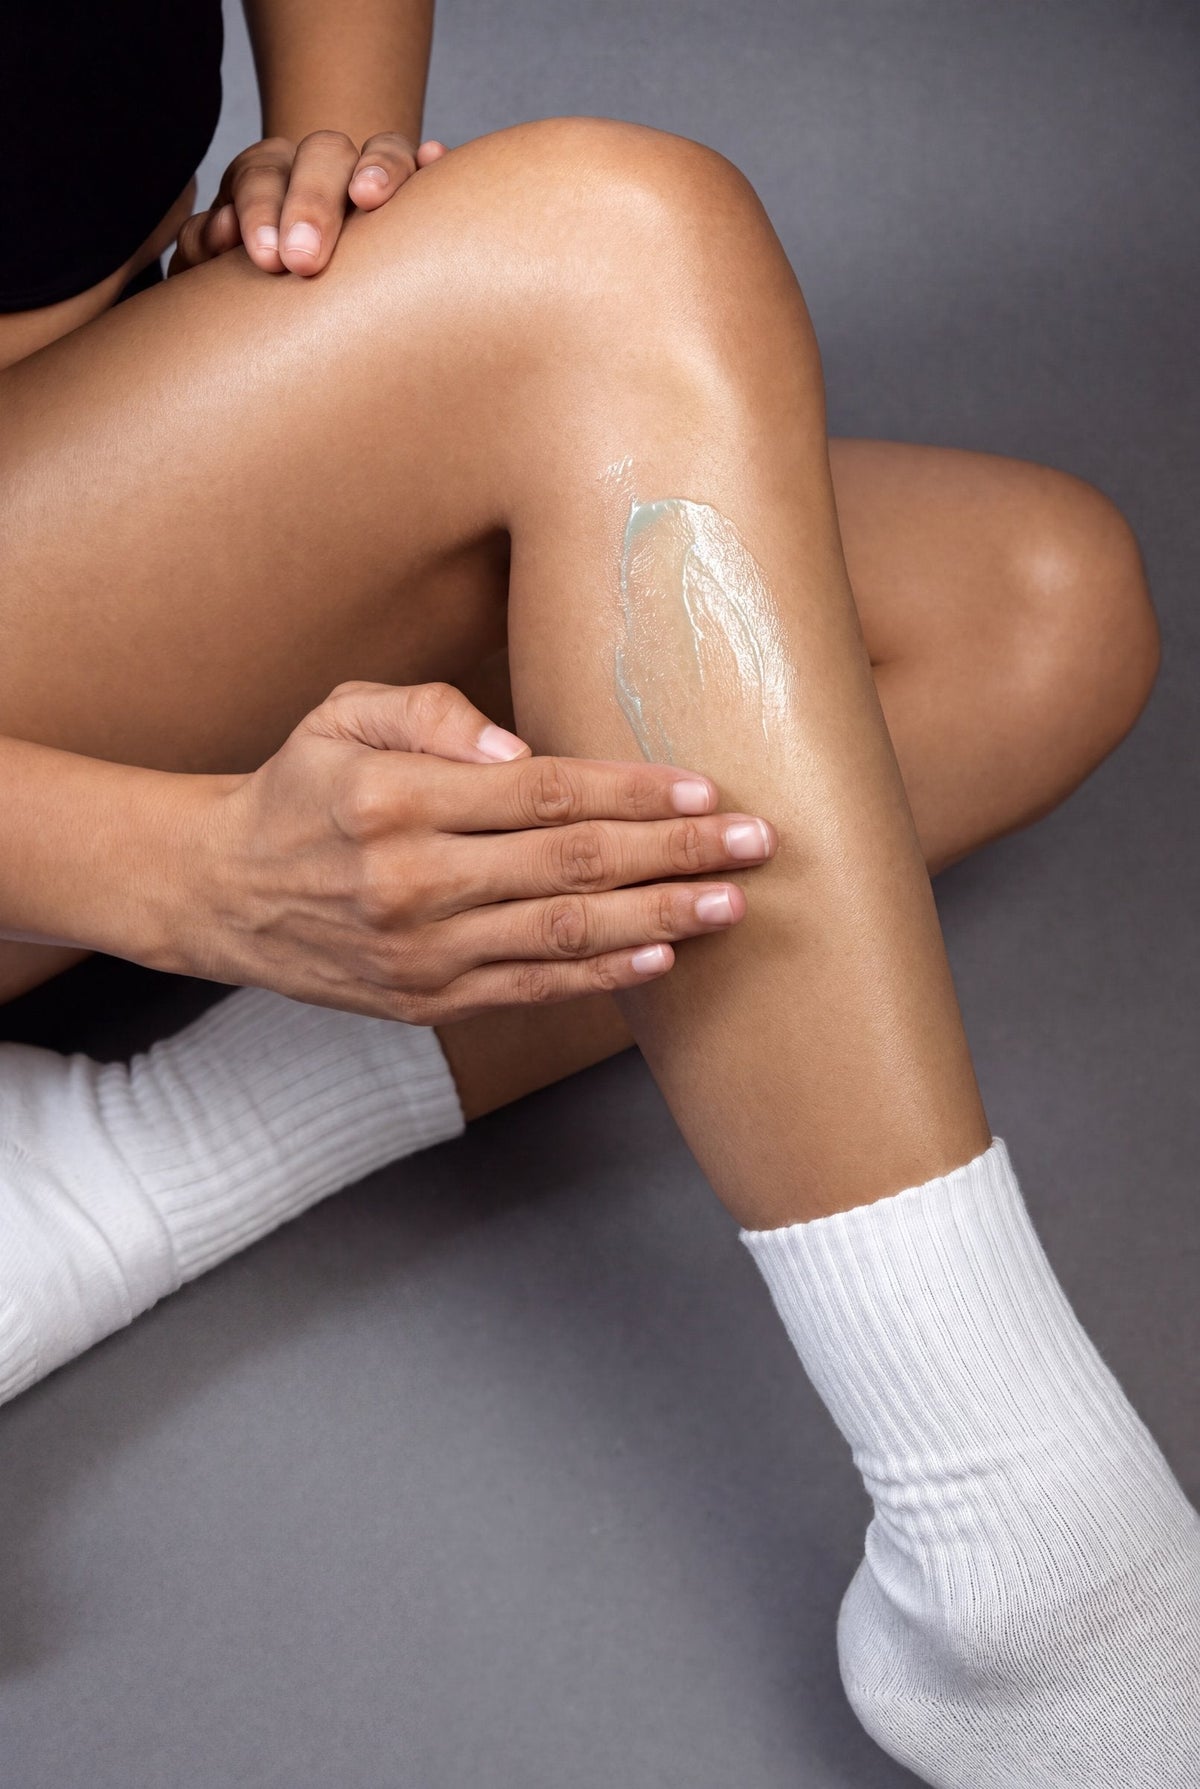
- Smooth a thin layer over the area and massage gently for 20 to 30 seconds.
- Let it absorb. A good gel sinks in within seconds.
- Wash your hands straight away.
Where to apply
Anywhere that is doing the work: calves and ankles, knees, thighs, lower back, neck and shoulders, forearms and wrists. Many people also use a little on the temples or forehead at the end of a long day, keeping well clear of the eyes.
When to apply
- Before you play, as part of your warm-up
- After training, once you have cooled down and towelled off
- At night, as part of winding down
Follow the directions on your pack for how often to use it.
Getting the most from it
- A thin layer works better than a thick one. More is not stronger, it is just slower to absorb.
- Massage is half the benefit. Take the extra 30 seconds.
- Pair it with the basics: water, food, sleep and gentle movement.
- Make it a habit. Keep a tube in your bag so it is there when you need it.
Patch test first
If you have sensitive skin, apply a small amount to the inside of your forearm and wait 24 hours. Some tingling is normal; redness, itching or a rash means it is not for you.
This guide is general information, not medical advice. If pain is sharp, severe, follows an injury, or lasts more than a week, see a doctor or physiotherapist.